
Yes, ladies and gents, you heard me right: tissue paper flowers.
In all honestly, last week needed a bit of livening up(I’ve been working on my thesis…so yes, arts and crafts are exciting…), and the failed dulce de leche gelatto (blech!) just wasn’t going to cut it as my “I’ve done something impressive this week so lets share it with the internets” topic. But my mom was having a Cinco de Mayo party for the married couples group at my church, and, after seeing the plastic banners she had hung around the house, I decided that we could do better. Period.
My mom mentioned making tissue paper flowers to liven up the banners…and I accepted that challenge and took it to the extreme. Kindergarteners make them all the time right? And surely simple tissue paper flowers would be too easy. I needed more, more, MORE!
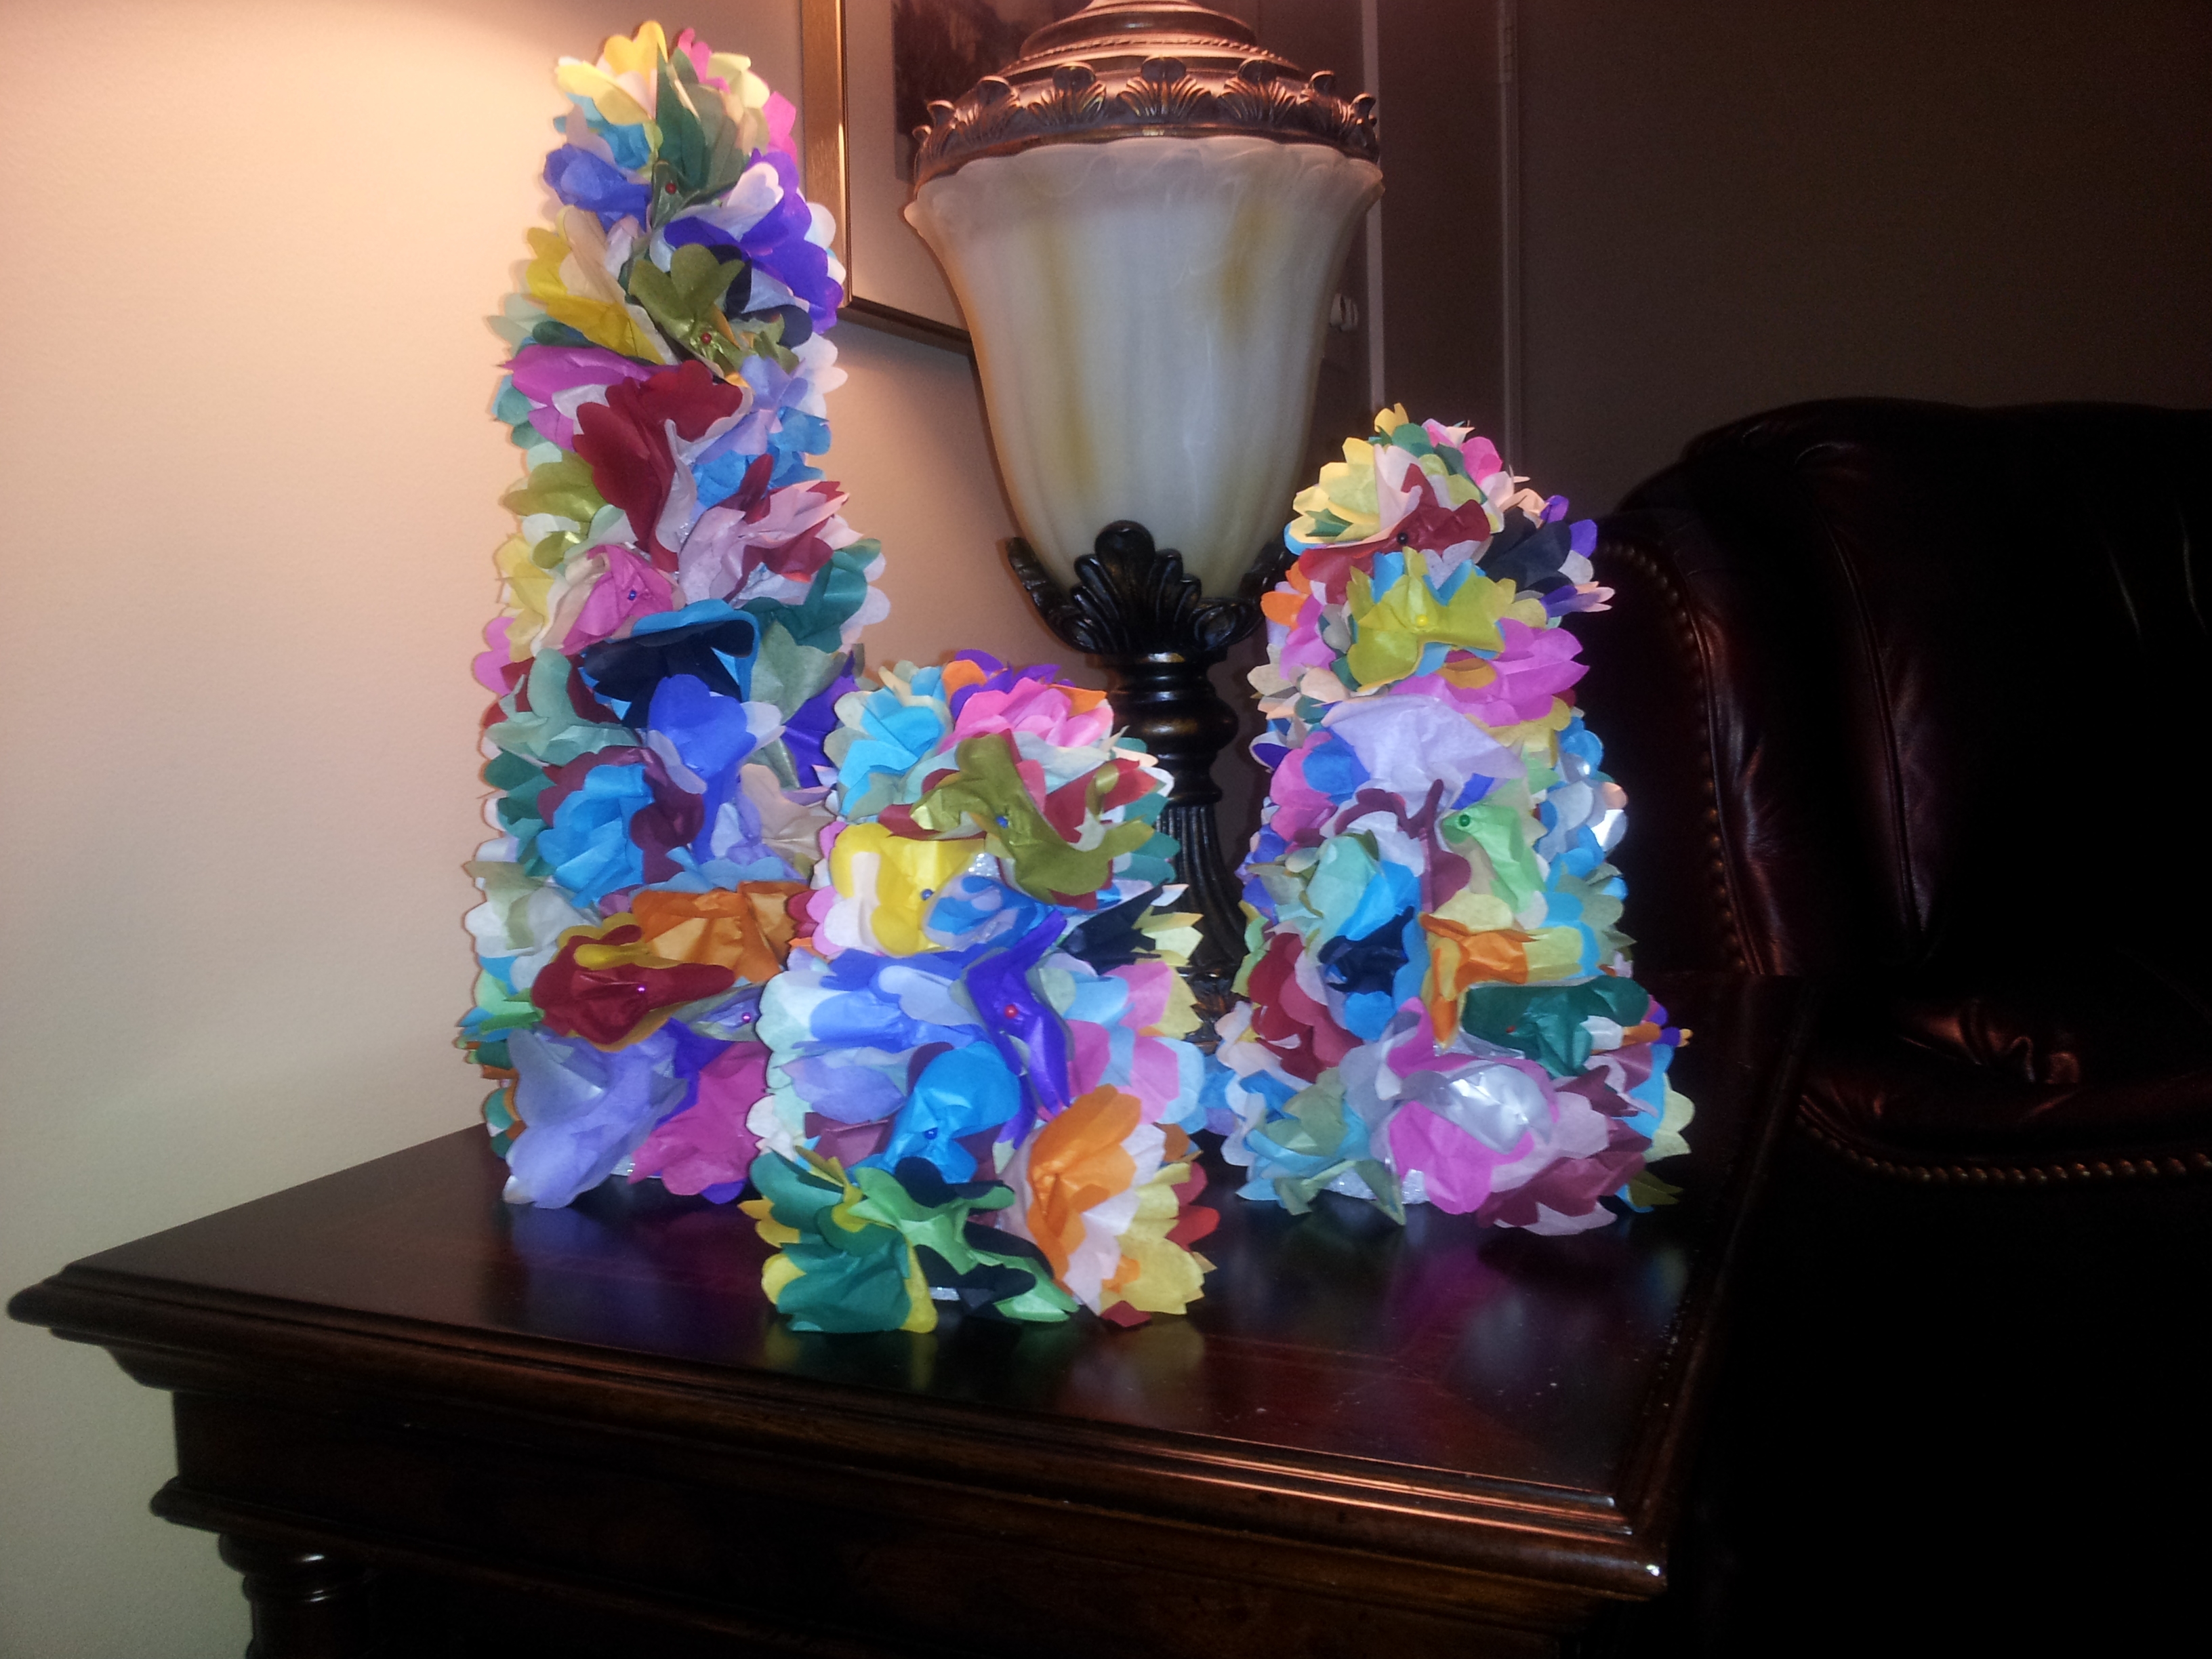
These little flower trees are the result of my need for more (and am I the only one currently thinking about the AT&T commercial with the guy interviewing all the little kids…?). They look a whole lot better in person, and are super simple to make. A little time consuming, but they don’t require much brain power and are really difficult to screw up if you want to multitask and watch TV or something.
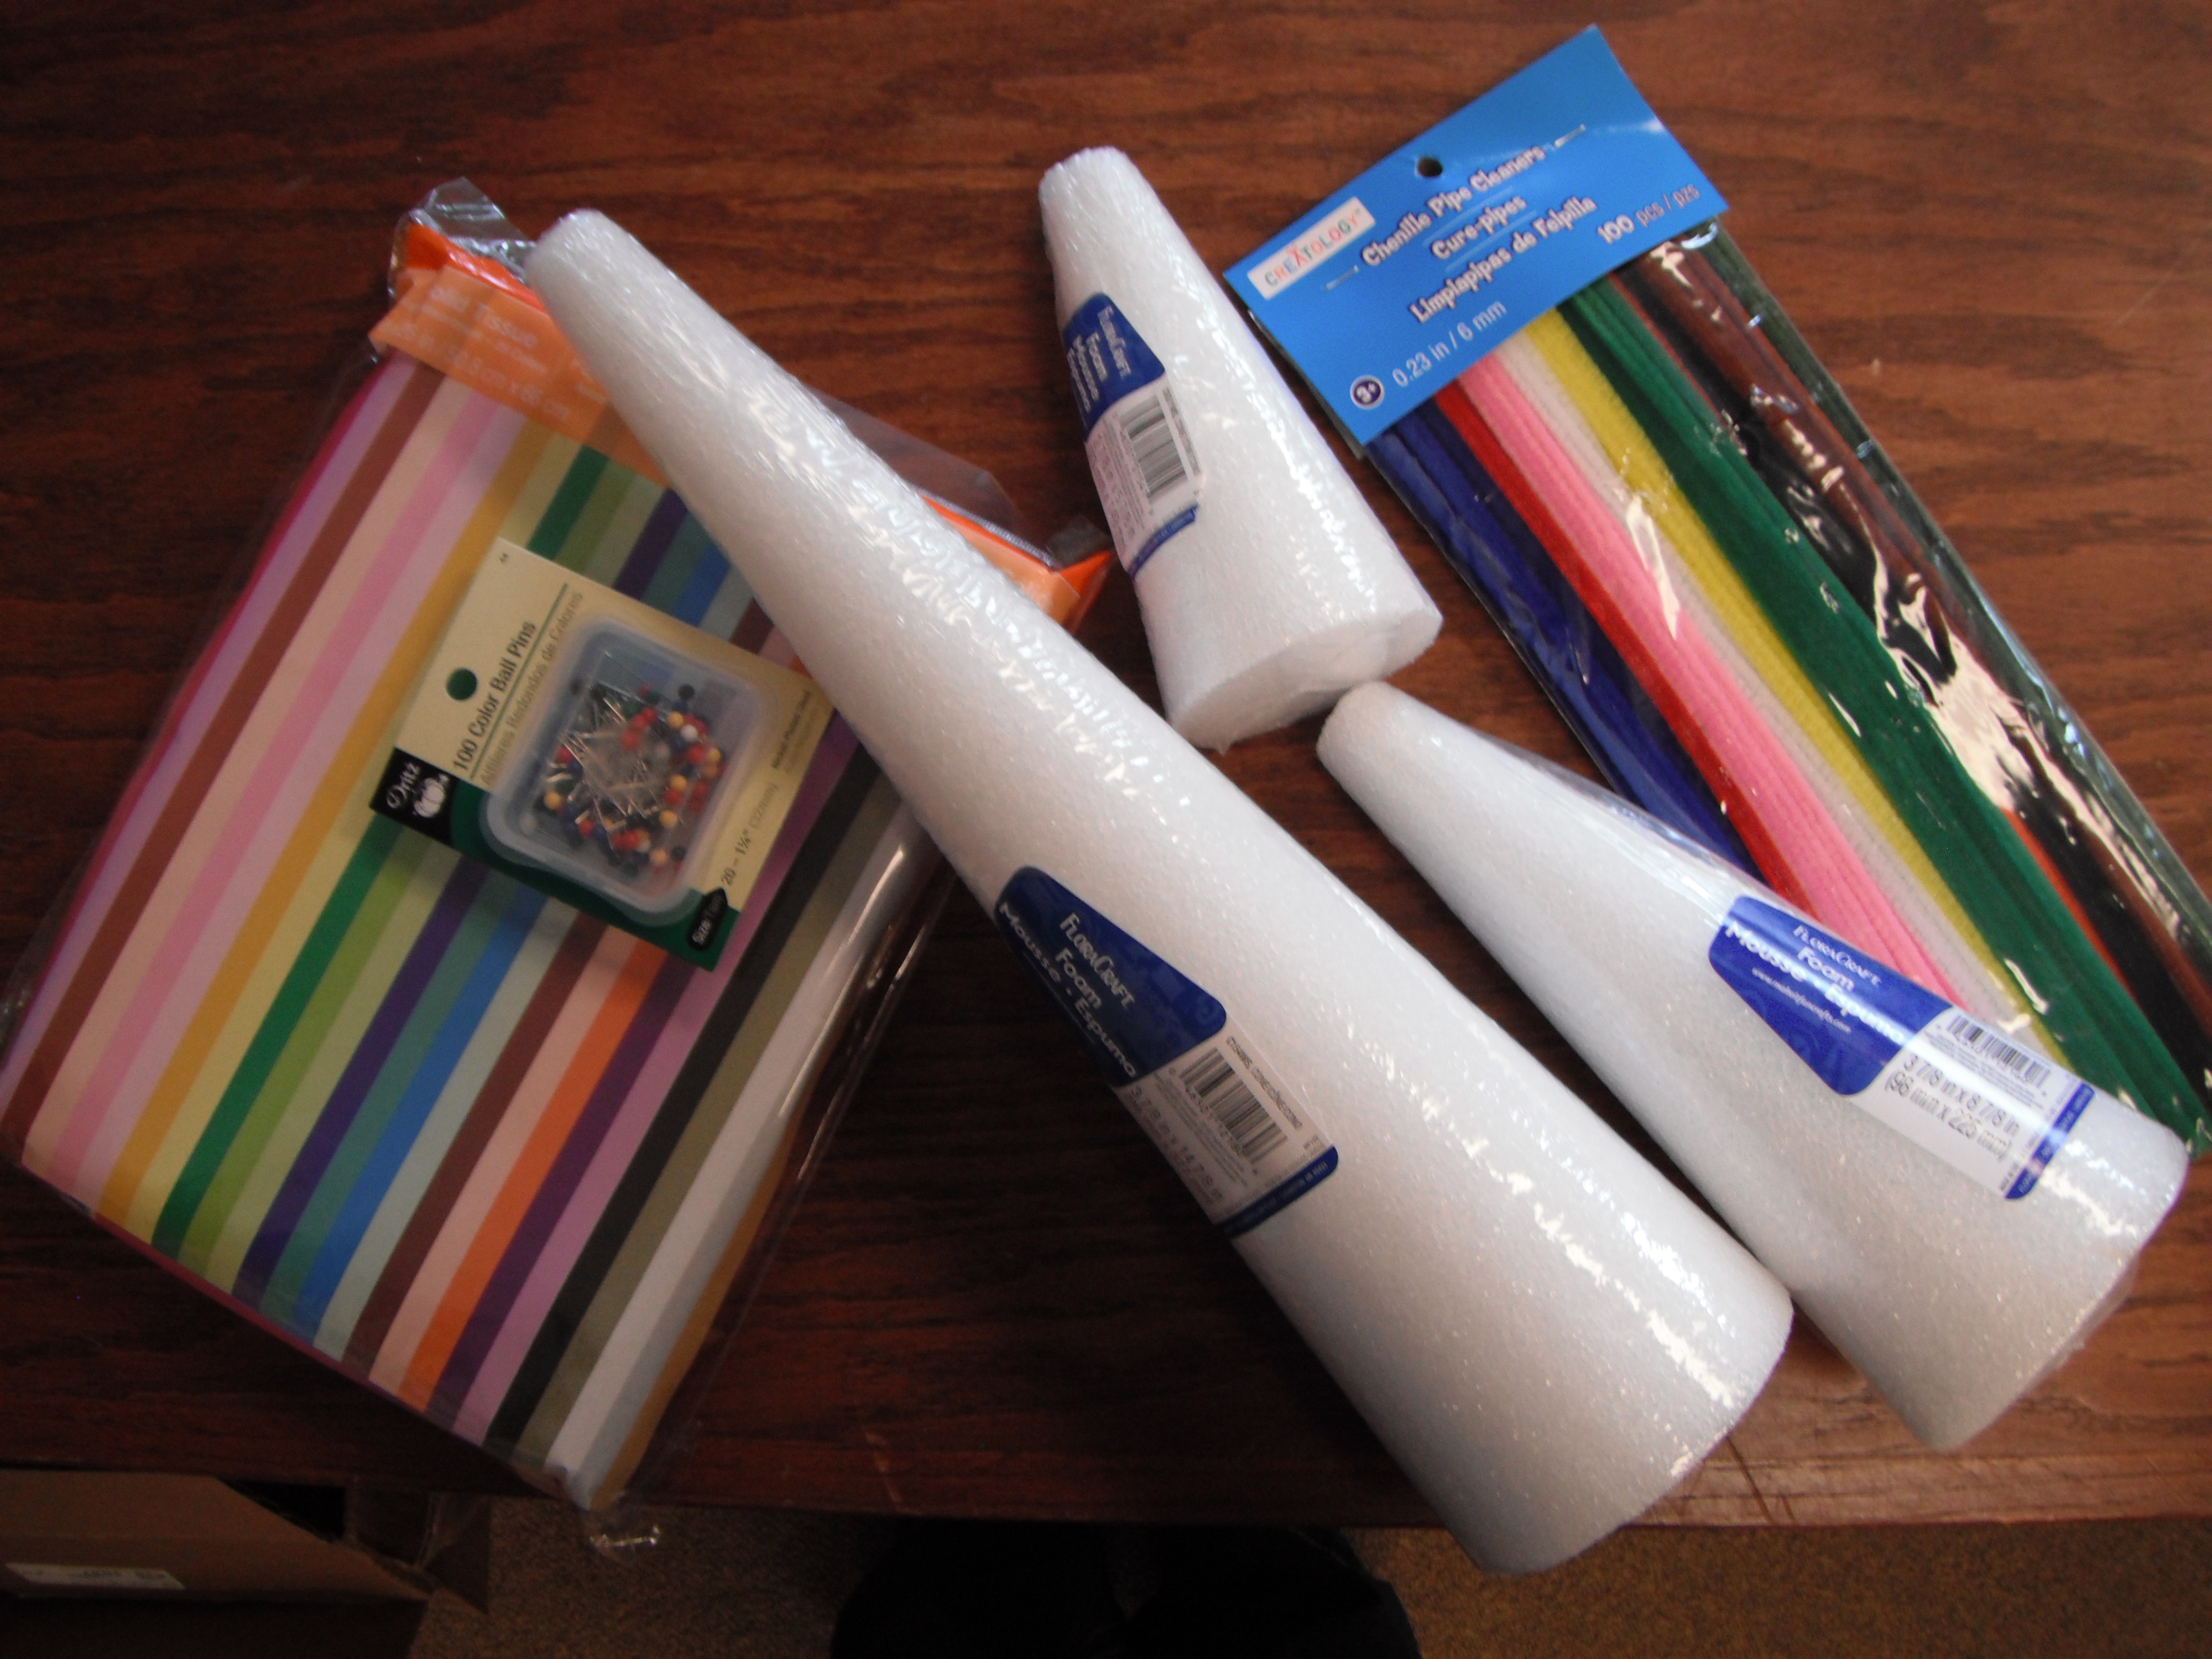
Supplies!
What You’ll Need:
- assorted tissue paper–I picked the ginormous rainbow pack, but pick whatever colors float your boat (and feel free to theme it: orange and black might be cool for Halloween/red, white, and blue for July 4th. Or, even a single color, but maybe two tones of that color like a blue and a light blue or a red and a pink to give it a little more depth).
- Foam cones (any other shape will work, so go crazy and get that dome shaped one if you want…be a maniac!)
- Pins with colored balls on the ends (pick your favorite)
- Pipe cleaners (These are for the big tissue paper flowers that will be in my next post later in the week, not for the trees. So if you’re only making trees don’t bother buying pipe cleaners.)
- Scissors
How to put it all together:
- First you need to cut out a whole bunch of squares. I did this by layering my tissue paper(at least several sheets thick, maybe more. It should still cut pretty easily) and folding the bottom edge up about 3 1/2 inches (maybe 4, I eyeballed it when I did it, measuring is not a requirement here.). You can make these squares as large or small as you want. Just remember, if you make them smaller you’re going to have to cut out a million of them to cover your tree and if you cut them a whole lot bigger you’re going to lose a lot of texture in your finished product. If your cones (or whatever you’re using) are massive or you’re constructing some huge archway over a door frame or something (no…I don’t know why you’d do this but I bet it’d look fantastic!) a little bigger might be better. And please keep in mind that all of these tiny flowers are going to be scrunched together pretty closely so if you end up cutting something a little wonky it doesn’t matter. Trust me. You honest to goodness wont be able to tell in the finished product. After you’ve folded the long strip, making sure its pretty even as you fold, cut down the line.
-

Here’s your strip. Fold it up, cut at that line, repeat until you’re done with the whole thing.
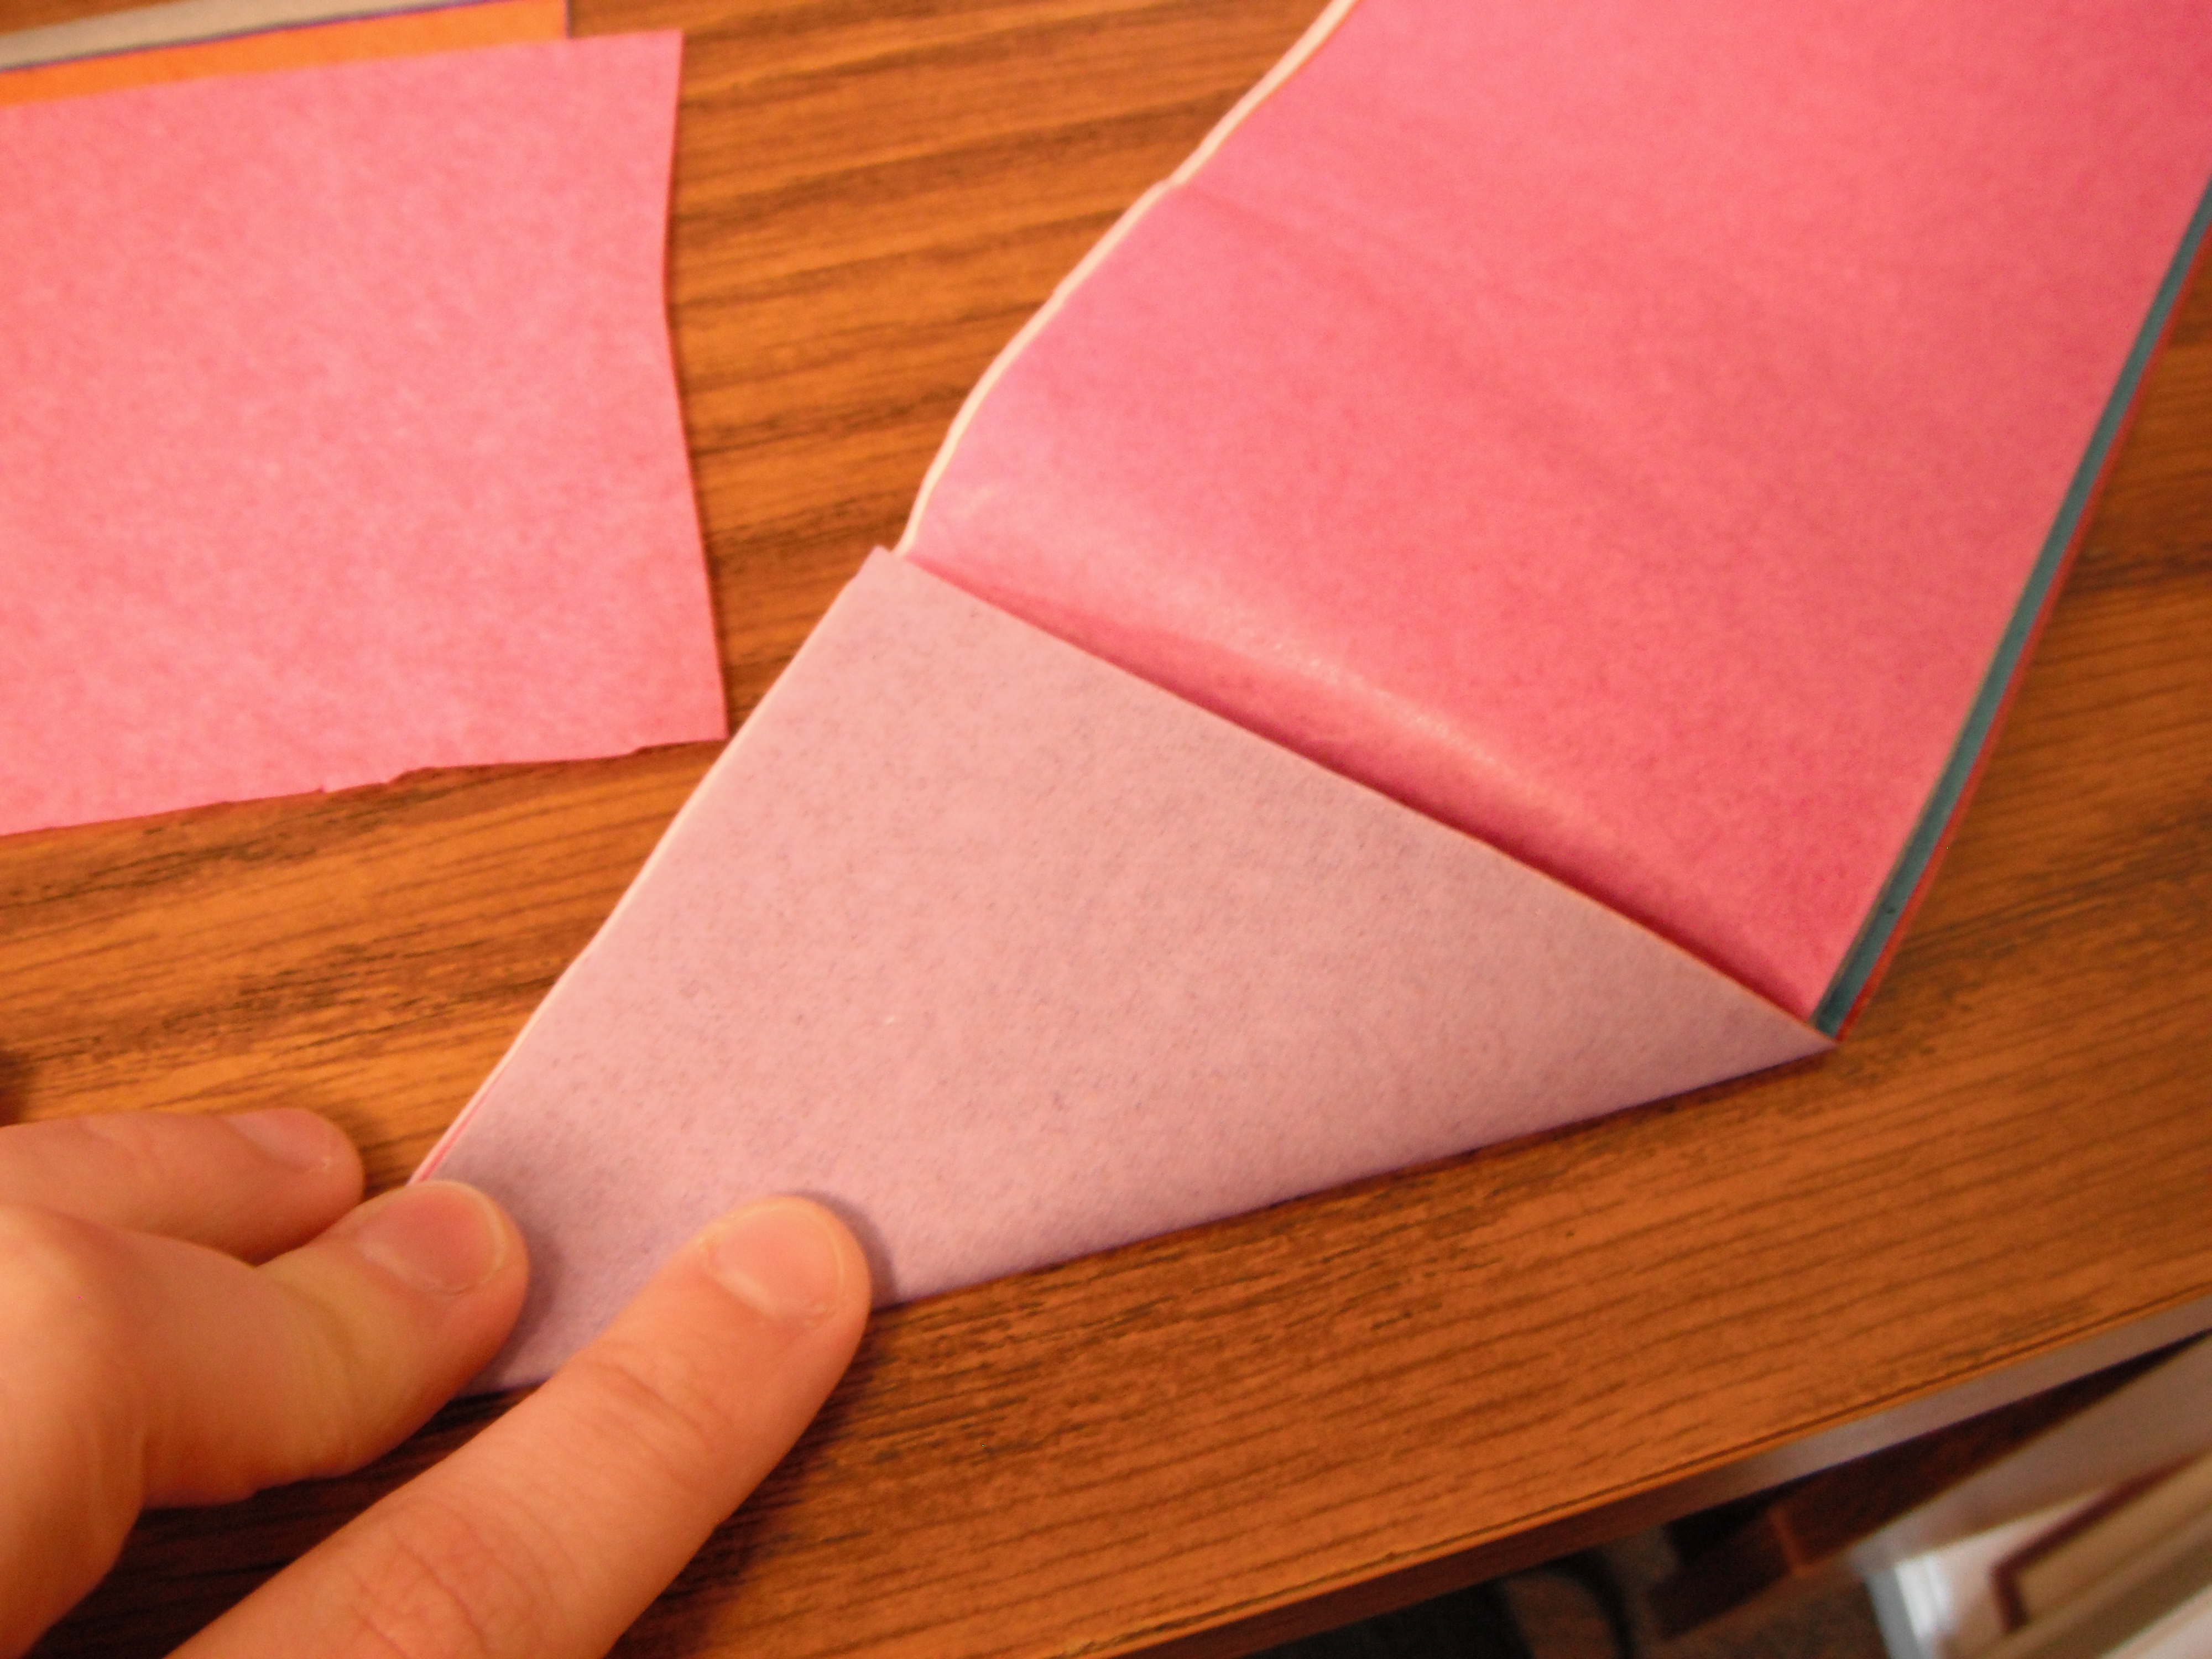
I then cut squares out of this by folding up the bottom corner of my strip and then cutting. As I’ve already said, it doesn’t have to be exact. Close enough is perfectly fine.
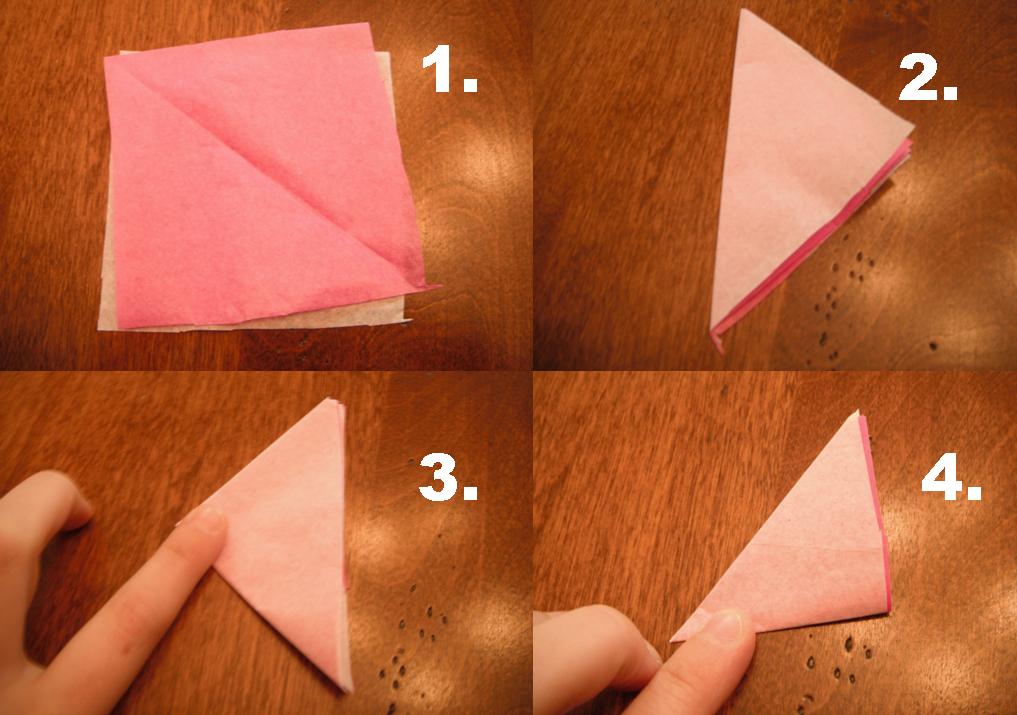
- Alright. So you have a whole bunch of squares cut out. I would hold off on cutting more until you see how many you actually need. Now you need to start folding the squares so you can assemble the flowers. 1) Pick two squares that you like/think will look good together and place them on top of each other. 2) Fold, bringing the two opposite corners together to make a triangle. 3) Fold again. 4) Fold again.

- The “top” of this triangle wont have any folded edges, and that’s what you’re about to cut along.

Cut two bubble like shapes in the top of your triangle. These will be your “petals”.
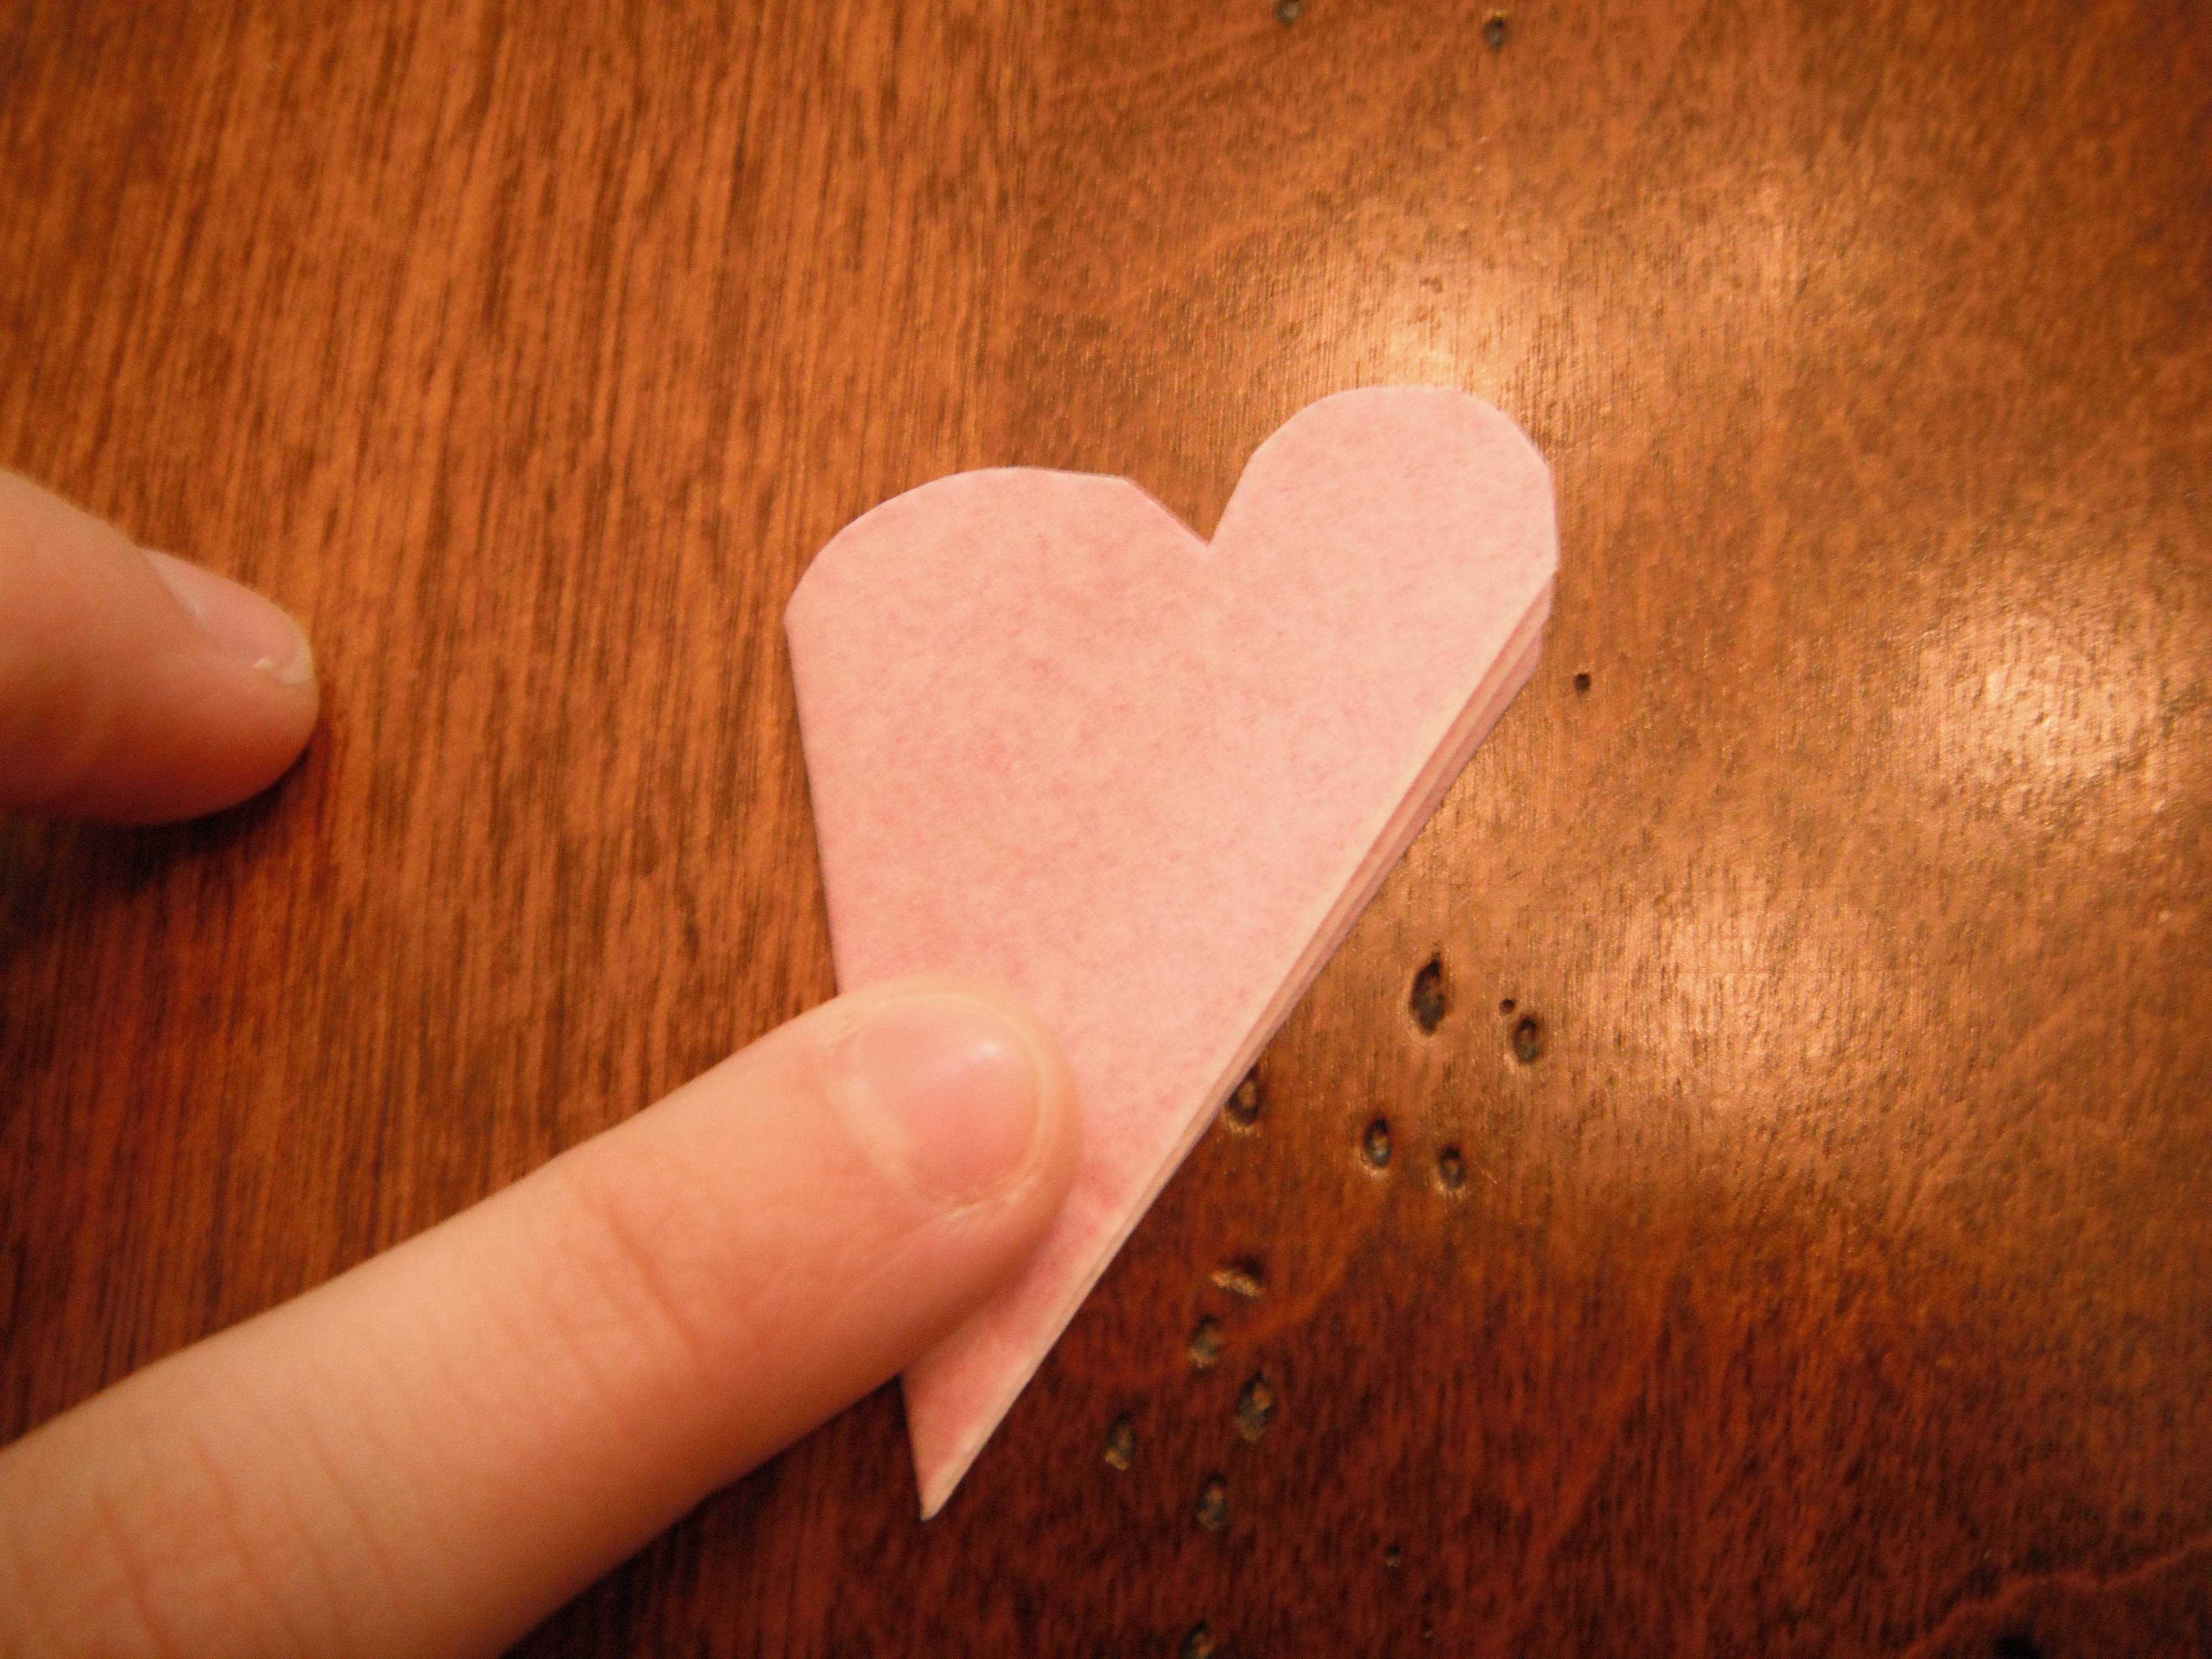
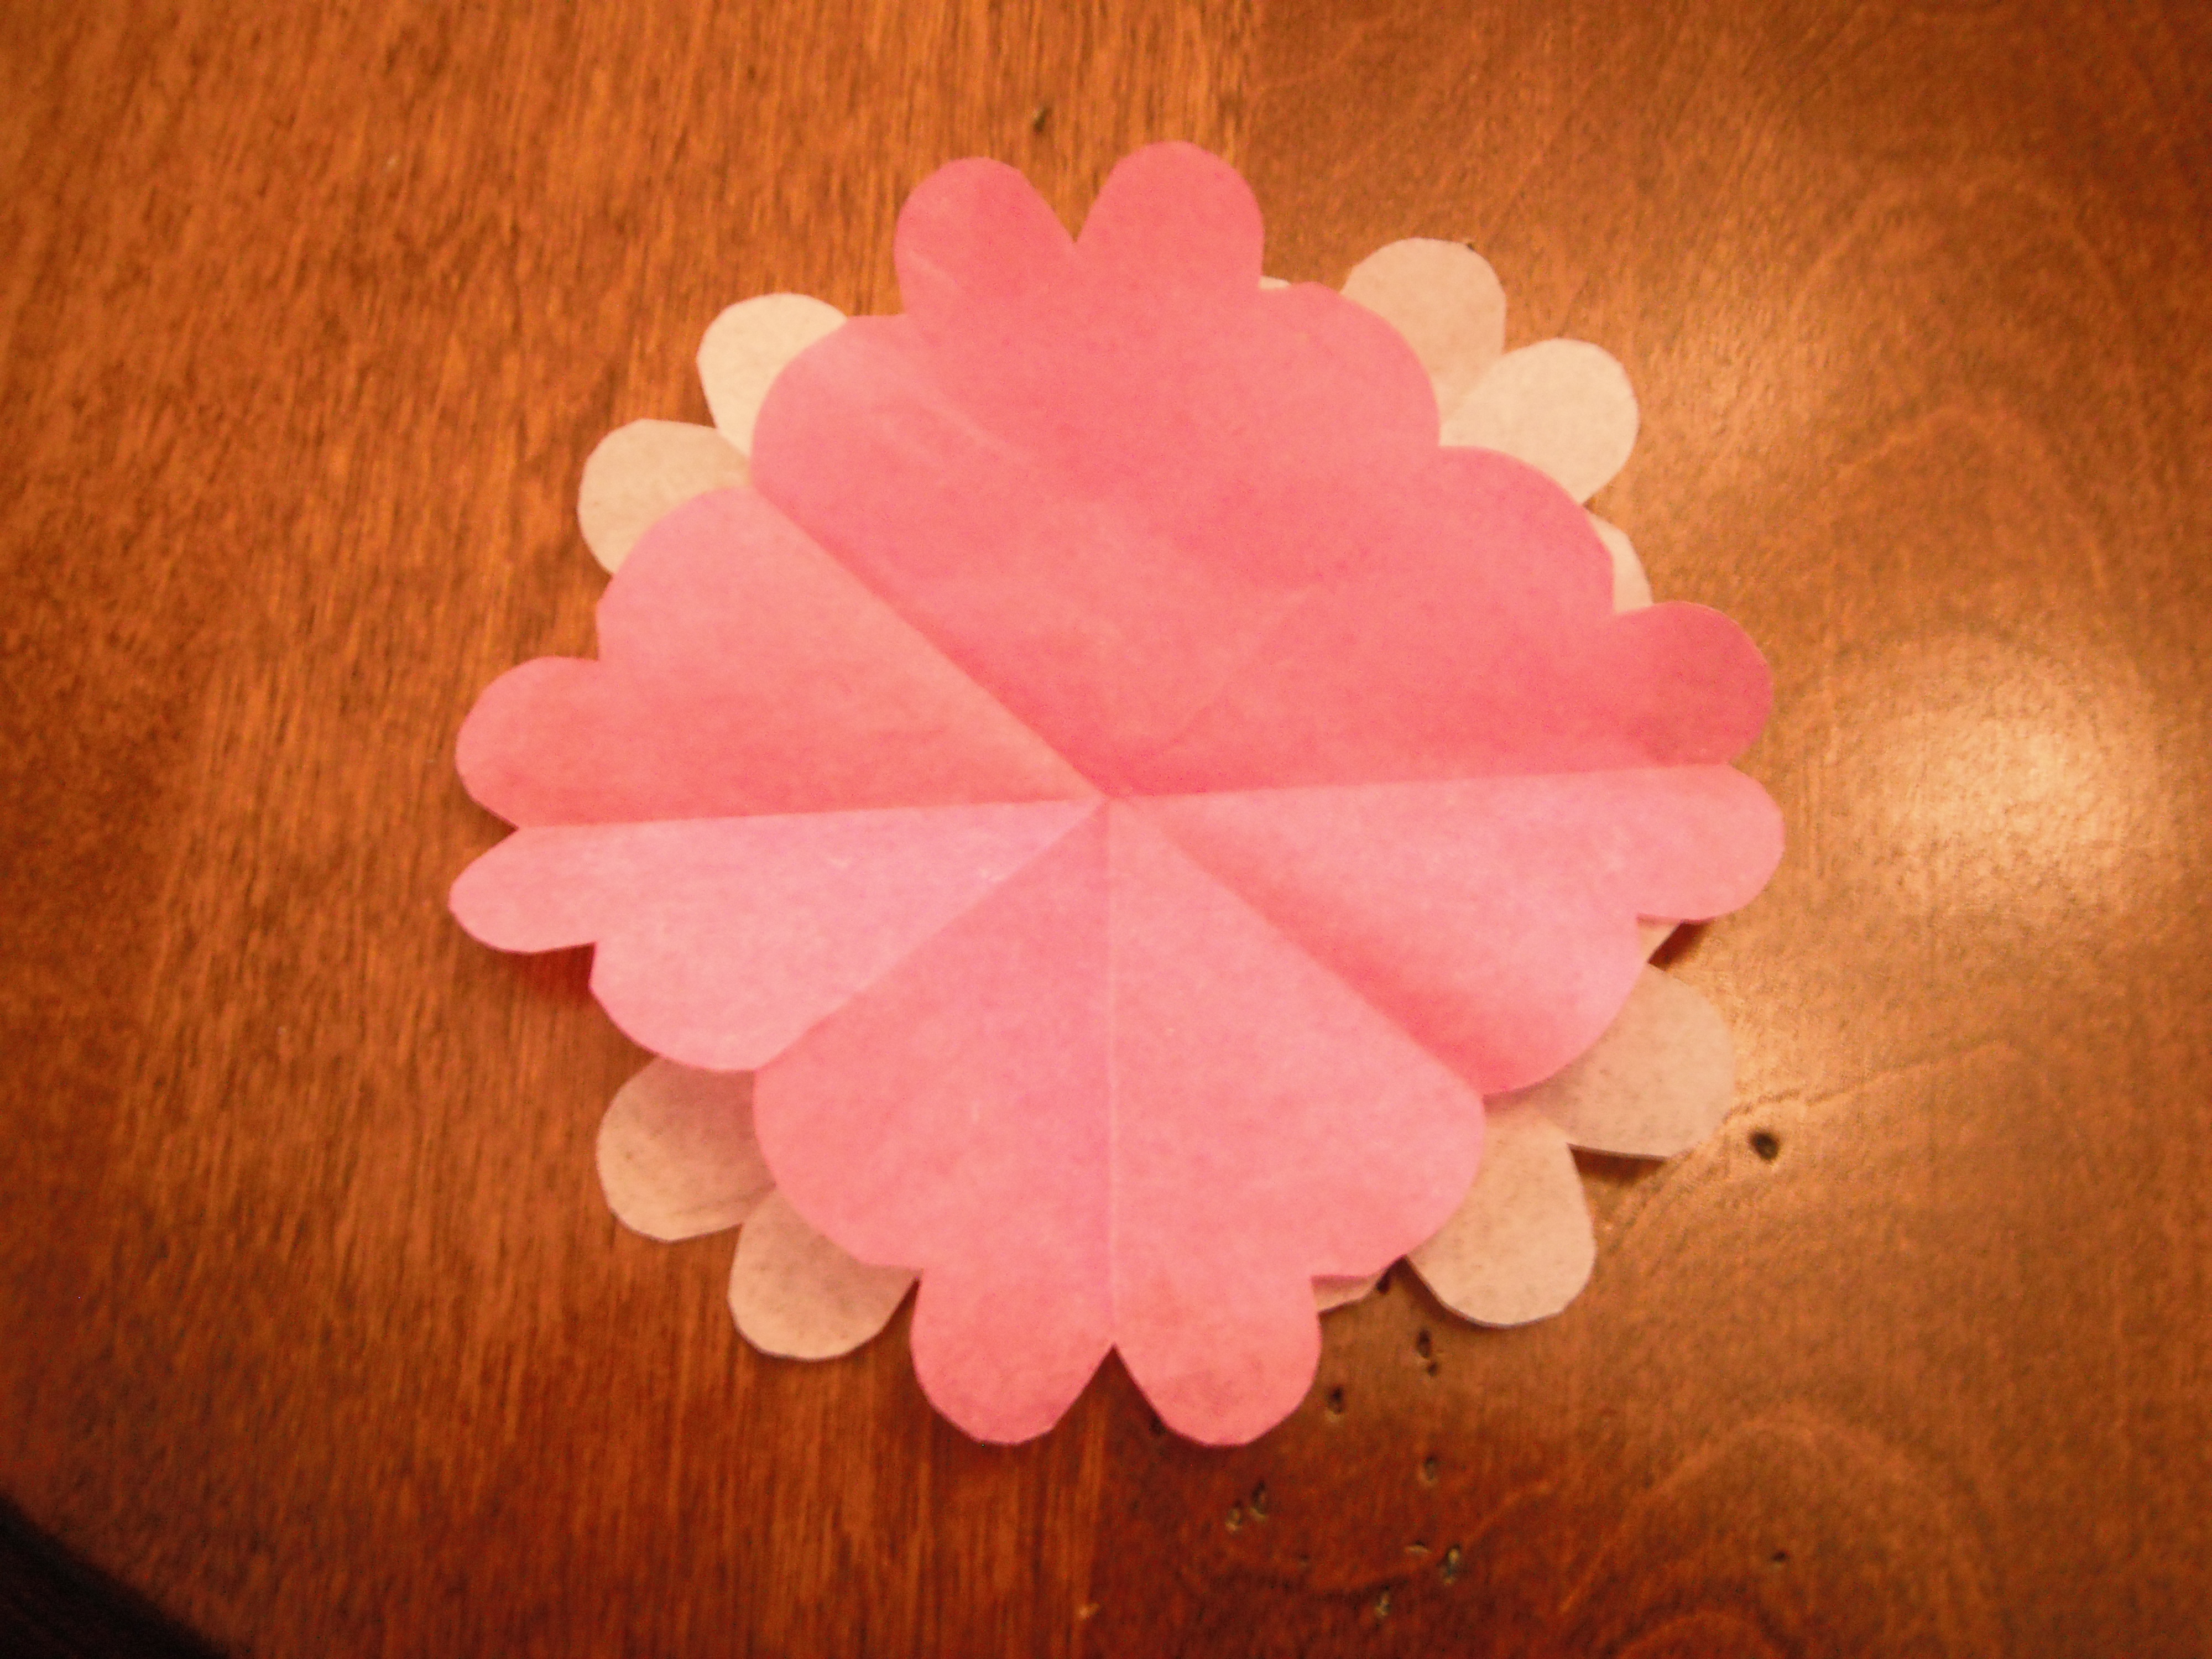
When you unfold your triangle it should look something like this:
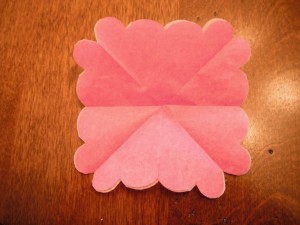
- Rearrange the shapes so the corners of the bottom layer are poking out. The centers of the two shapes should be touching.

- You see that center point of all of your folds? Grab that by kind of folding it up or poking your finger at the middle of it. Scrunch it up so that it kind of looks like a flower by twisting that bottom point a little.
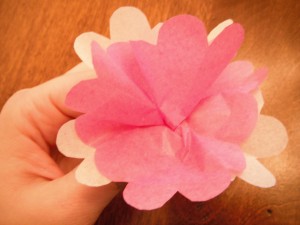
- Now take one of your pins and jab it through the center of the flower (without hurting yourself). If you can get it through multiple layers of the twisty point, all the better. Just play with it, and remember that the shape of the flower is going to change as you stick the other flowers next to it on the tree.
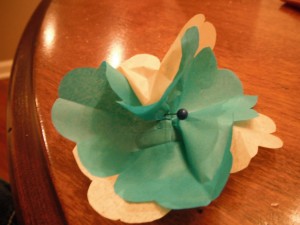
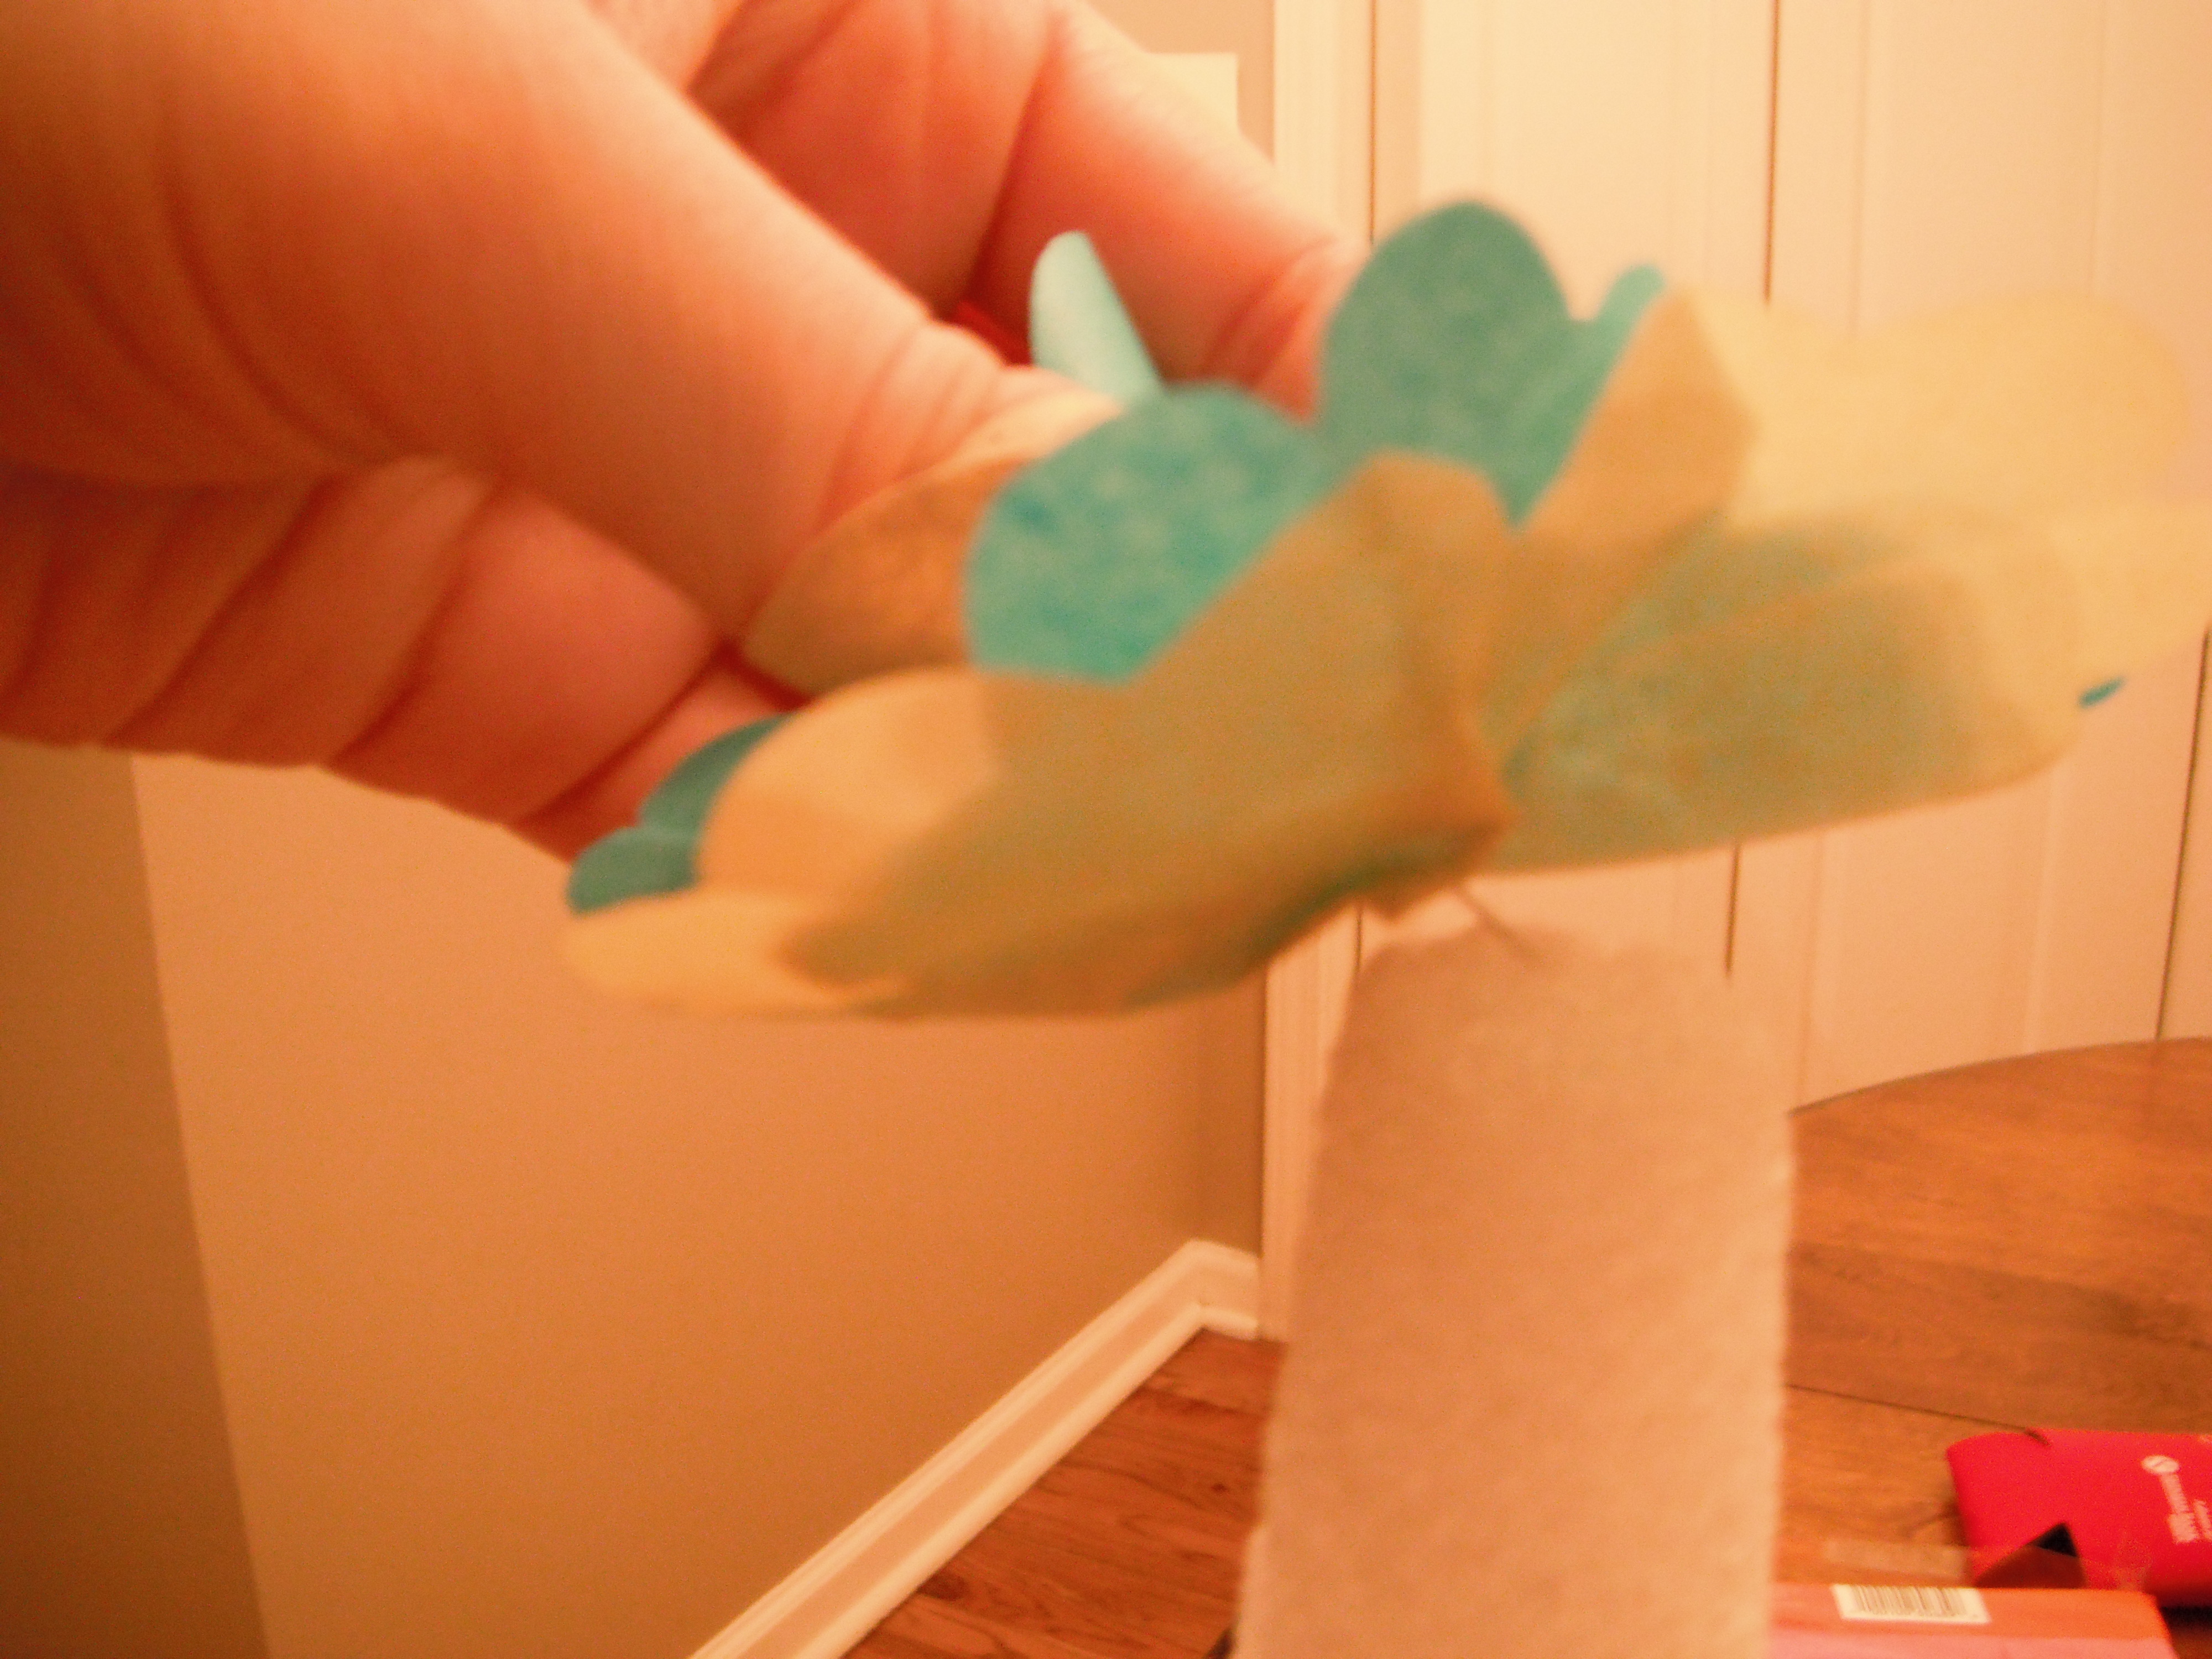
Yes, I realize that I just switched flowers. This is what the front should look like.

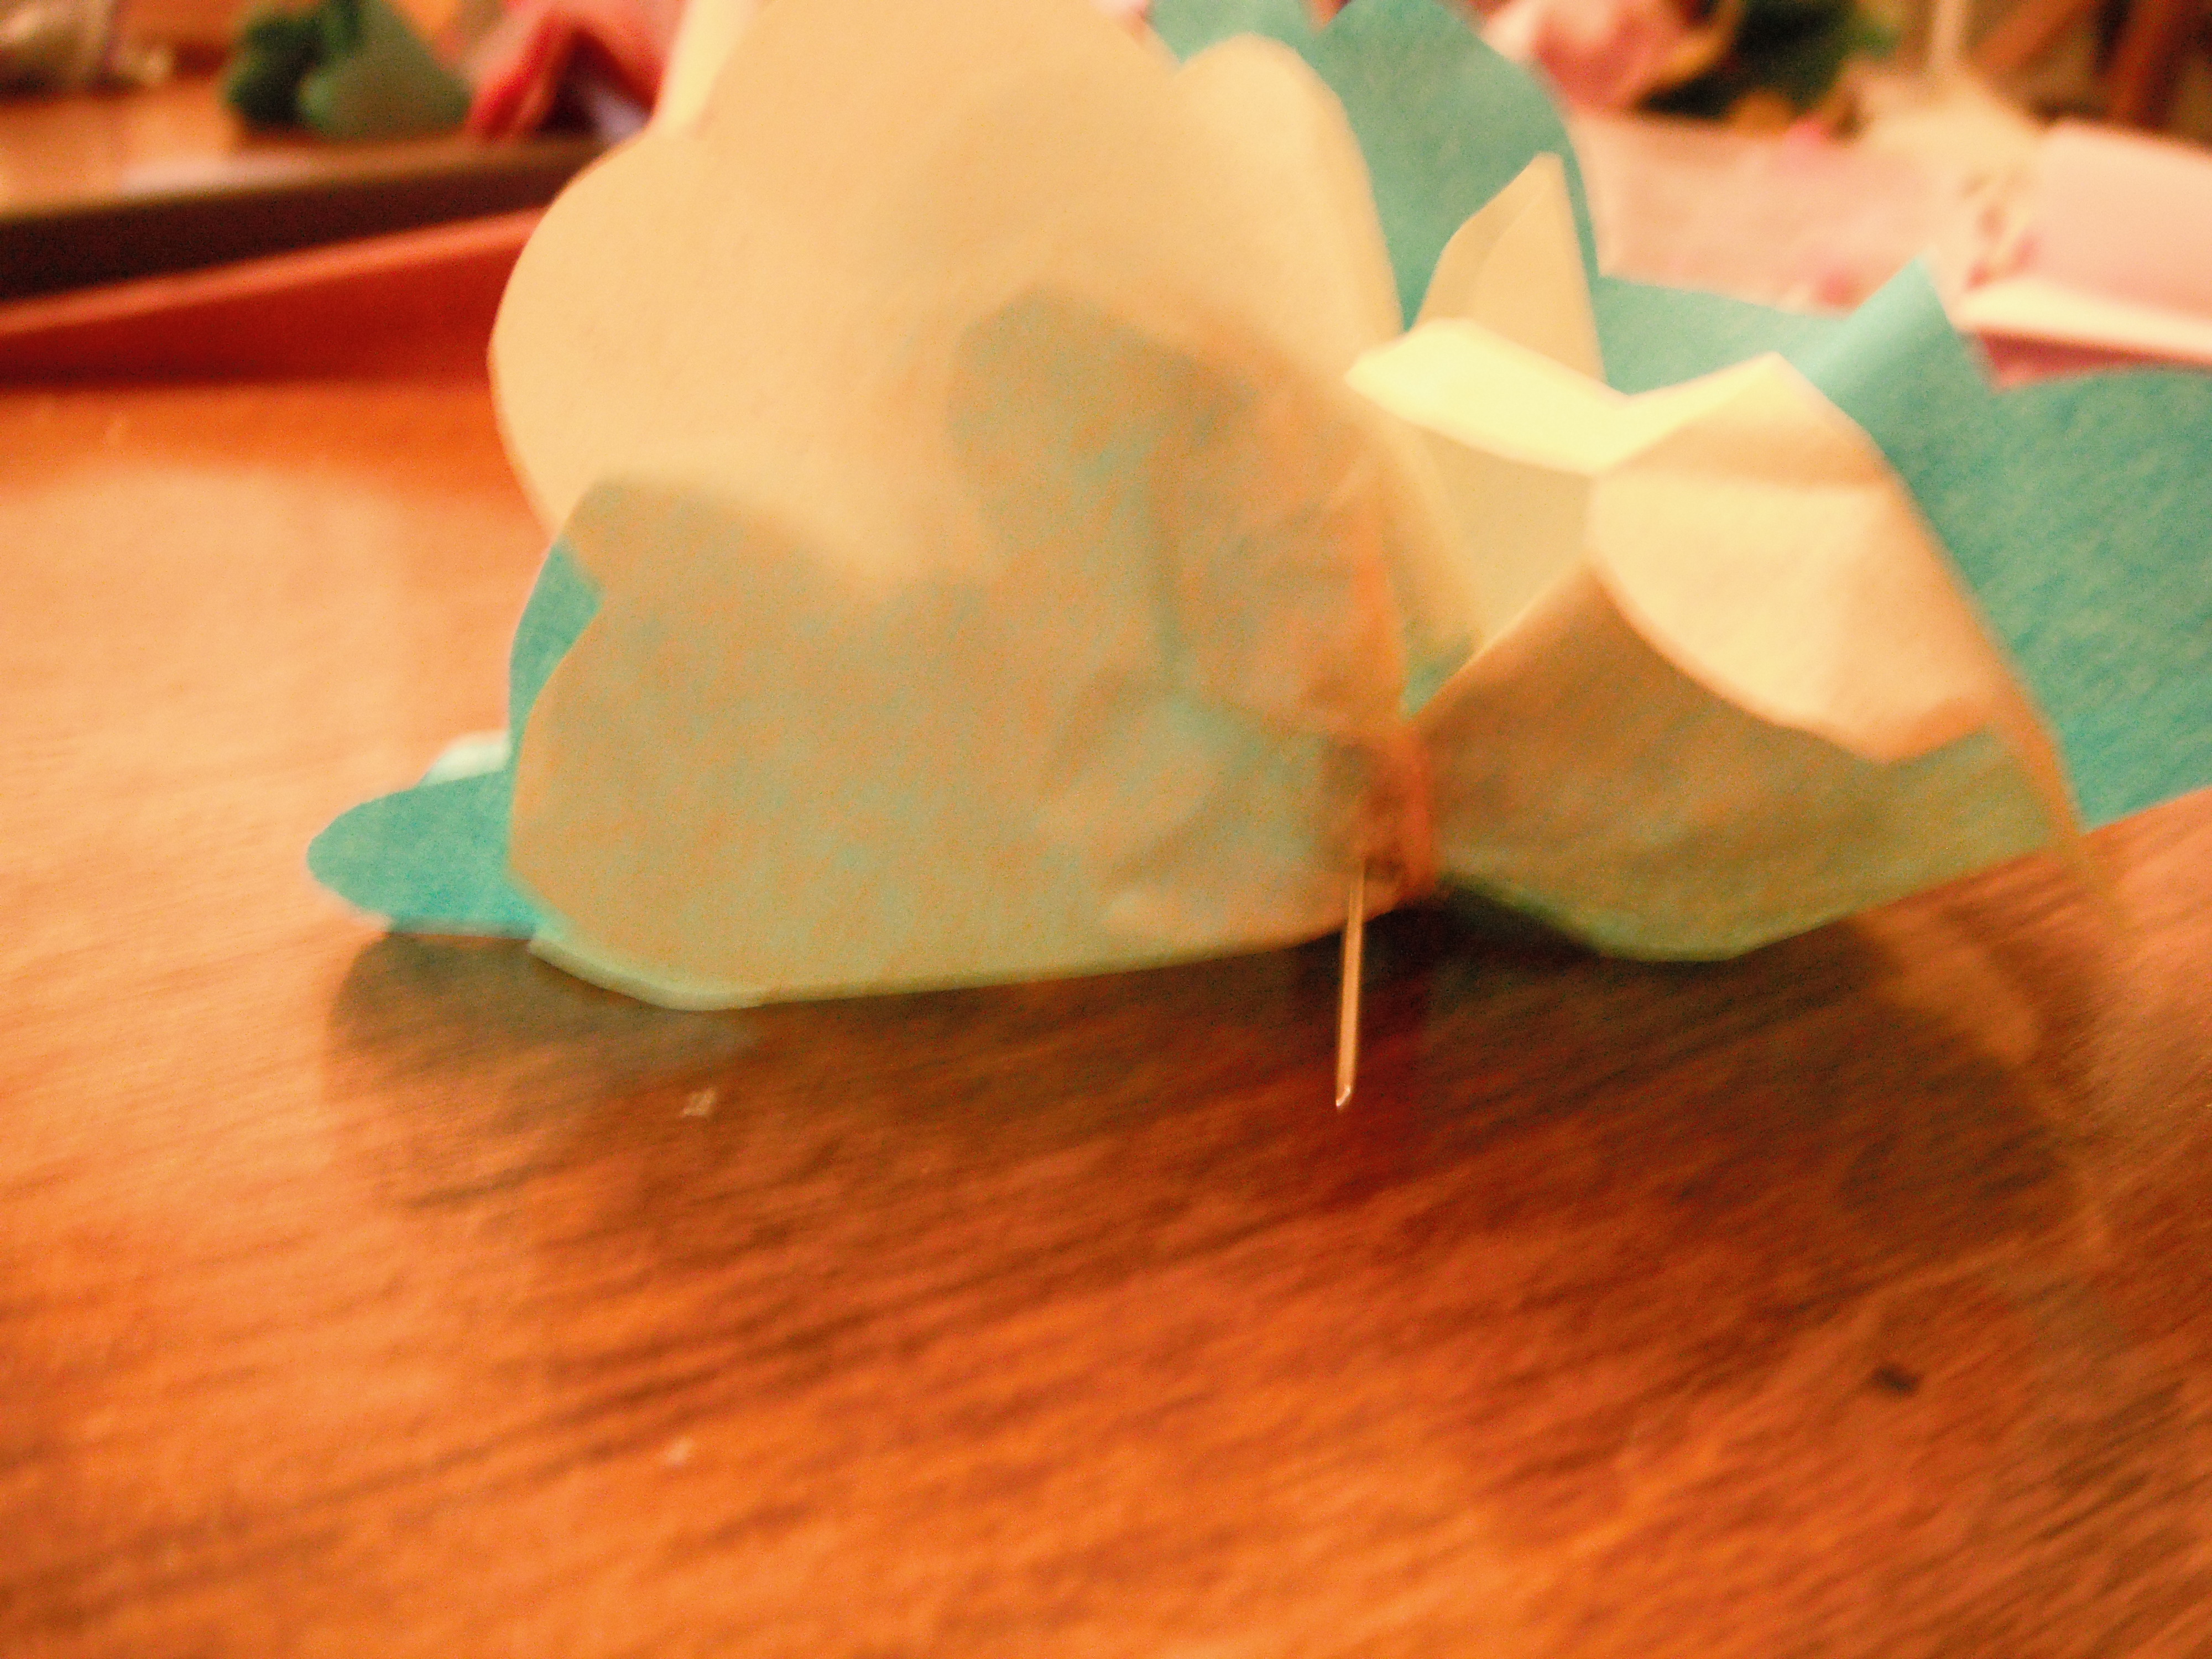
This is what the pin should look like coming out the other side.
-
Lastly, you’re going to take that flower and stick it into your cone:
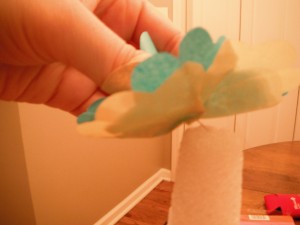 The beauty of using pins instead of glue is that you can still move the flowers around if you don’t like where you’ve placed them, and far less mess. Or burns from hot glue…because I’m uncoordinated…
 -
Repeat the whole process until you’ve covered your entire tree. Once you’ve cut a few of them out, you’ll have the hang of it and breeze through it.


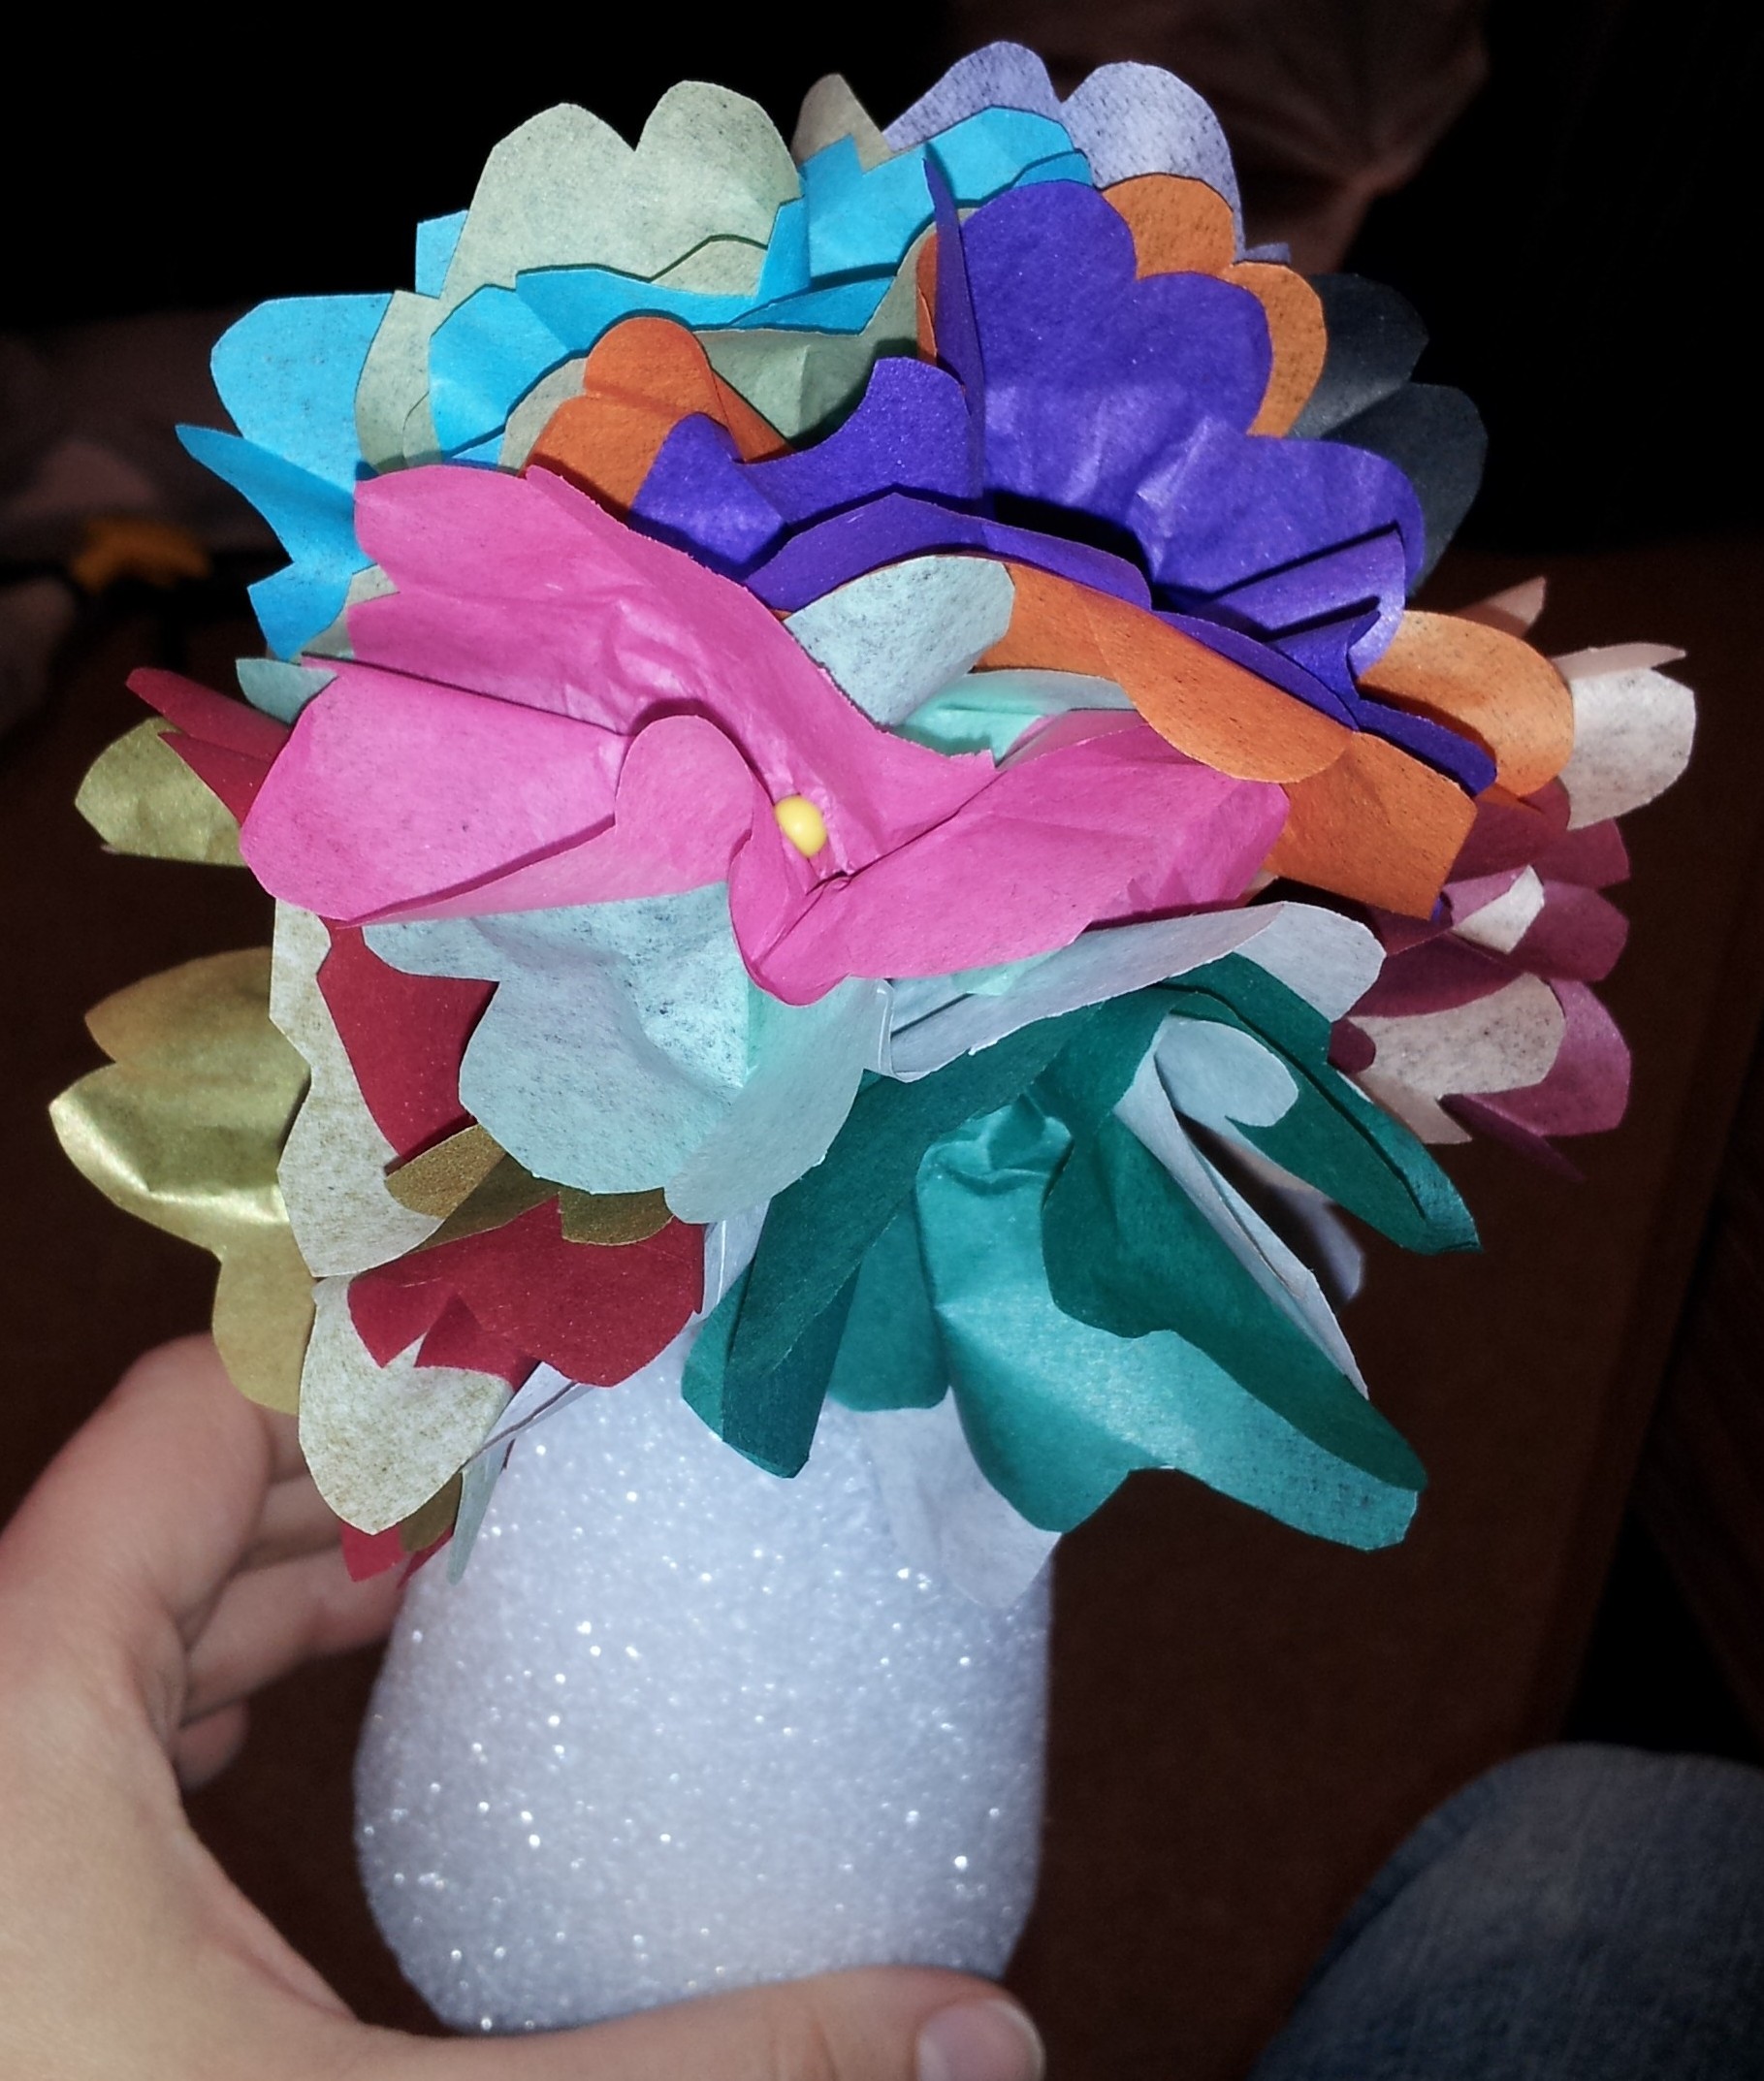
A half completed tree.

Well, happy tree making everyone! I’ll post a continuation at the end of the week showing you how to make the big puffy flowers (better than a kindergartener!). Until then here are some of our party-goers, clearly enjoying my immaculate decorations. Yep. That’s it!

From left to right: Mary, Angie, Pam(my mom), Maria, and Deb. One of my trees is chilling on the table. Three of my (less impressive) flowers are in the vases on the mantle, and the banner is of the plastic variety.

Pingback: Flowers: so very many of them | Scribbler's Experiment